Body
Registration and Setup
Welcome to TSTC’s CyberArk/Alero system for remote vendor access. These steps will guide you through setting up your access to be able to remote into TSTC systems.
-
Download the CyberArk Mobile app from your app store for a quicker and more seamless login experience, requiring just a scan of a QR code to log in. If you do not wish to use the app, follow the instructions under the (Alternate Login Method) SMS or Voice" section. This requires that the admin who sent the invite enable this option on the invite.

-
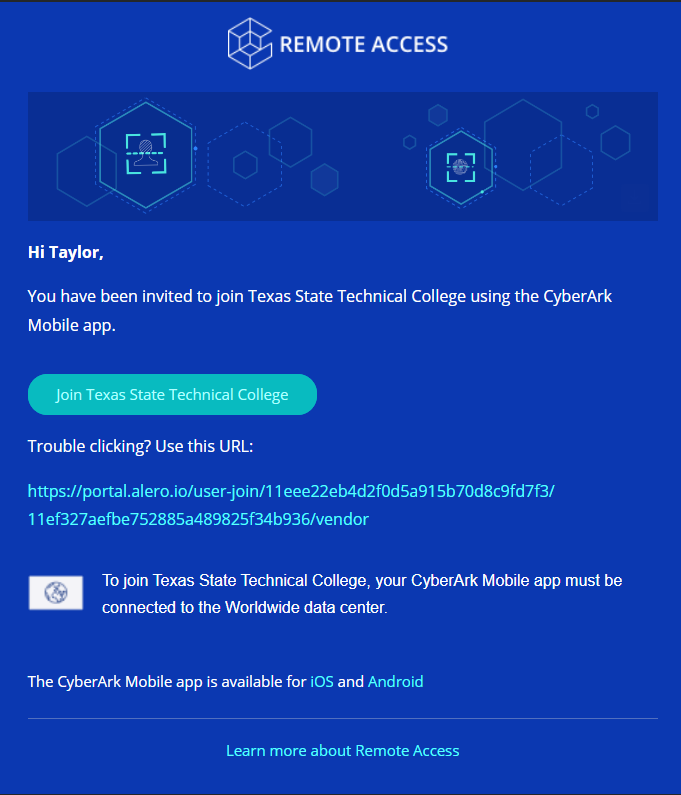
You will receive an email titled “CyberArk Remote Access - You've received an invitation to join Texas State Technical College” that looks like this
-
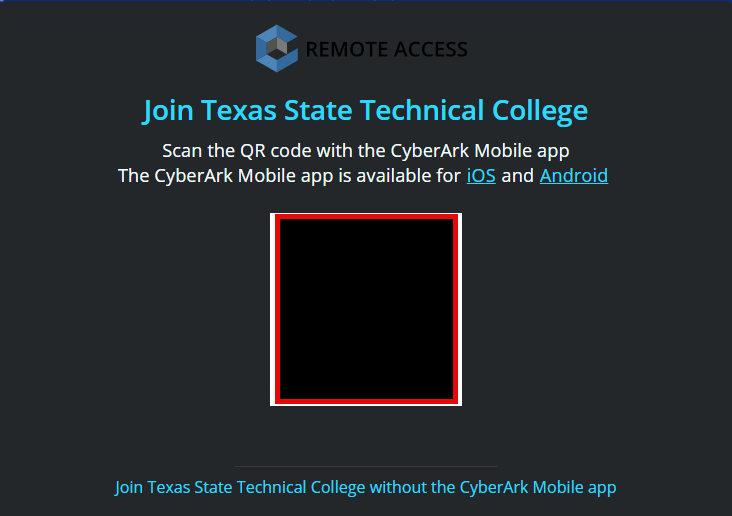
Click on the URL or the blue button in the email to bring up the QR code that will be scanned into the CyberArk Mobile app
-
Let the app scan the QR code and it will log you in automatically. Bookmark the following link for quick access in the future: https://portal.alero.io/tenants/11eee22eb4d2f0d5a915b70d8c9fd7f3/sites
-
Go to the "Post-Login Steps" section.
(Alternate Login Method) SMS or Voice
-
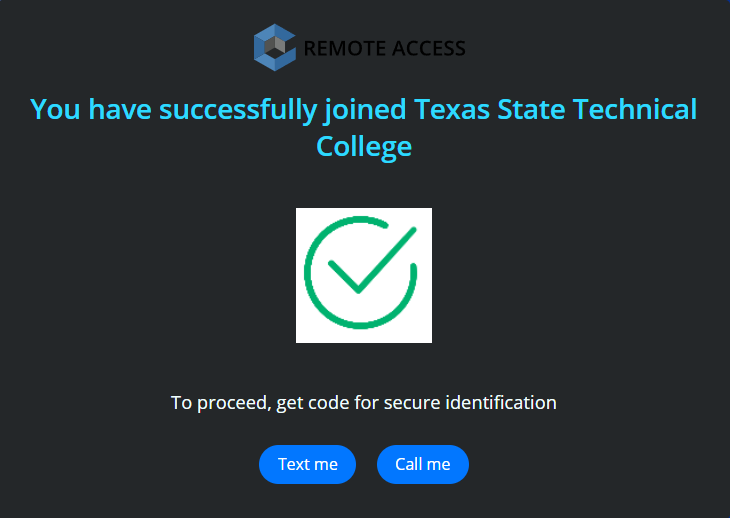
Alternatively, you may have the option on this screen to join without using the app. After clicking this option, you’ll be prompted to provide your mobile phone numbe and answer a CAPTCHA. Once that is complete, you’ll get this screen
-
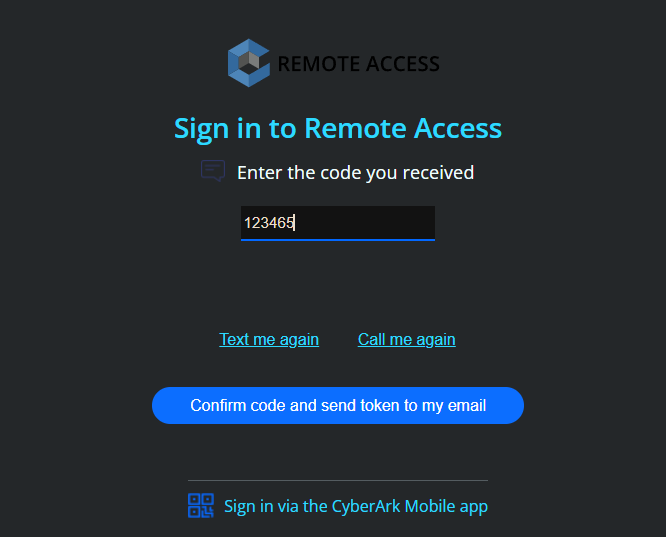
Click either “Text Me” or “Call Me” to receive the verification code. Enter it when prompted
-
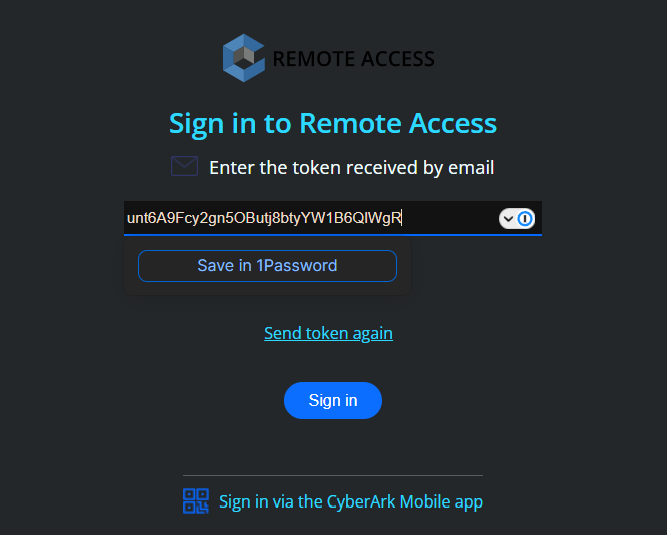
Click “Confirm code and send token to my email”. You’ll receive an email with a token string. Copy and paste that string into the textbox and press Sign In.
-
Bookmark this link for quicker access in the future: https://portal.alero.io/tenants/11eee22eb4d2f0d5a915b70d8c9fd7f3/sites
Post-Login Steps
-
Upon logging in the first time, you may have the “Texas State Technical College” tile displayed with an “Access Disabled” message. This means that an admin has not yet confirmed your account which is the next step after you log in for the first time. We are notified as soon as your account needs confirmation so this should happen fairly quickly. We will email you to let you know once your account is activated. If this tile is active. Click on it to access the system if it doesn’t redirect you automatically after login.

-
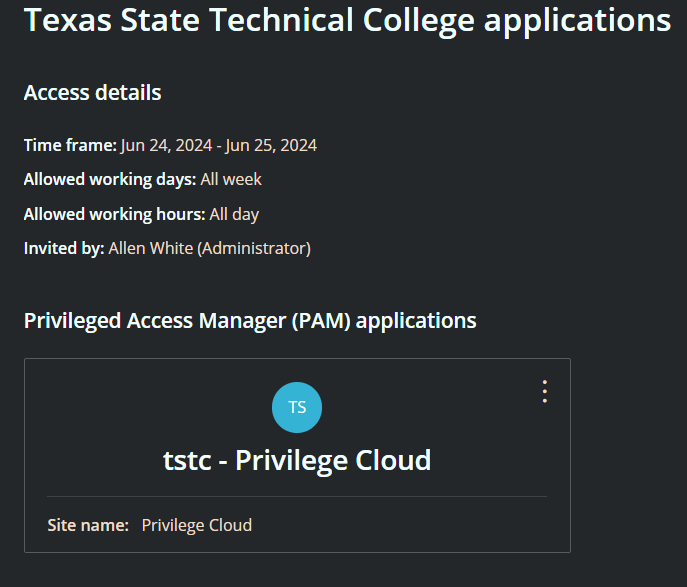
You will be at the CyberArk Remote Access portal that provides helpful information regarding your access, including the start and end dates and allowed working day/hours. Click on the “tstc - Privilege Cloud” tile to open Privilege Cloud which is where your account(s) for accessing TSTC systems are located.
-
The CyberArk Privilege Cloud tab opens and displays a list of all accounts you have access to. These accounts have been configured by the administrator to be able to RDP into the system(s) you require access to.

-
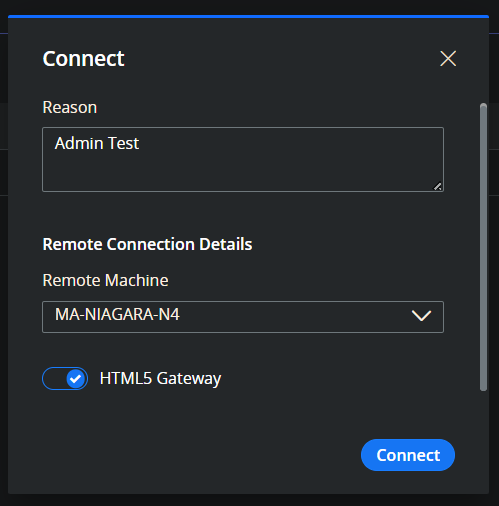
Click on the Connect button next to an account to open the Connect prompt. Enter a connection reason and select a remote machine to connect to from the dropdown box. Leave the HTML5 Gateway slider checked and press Connect. This will open an RDP session in a new browser tab and automatically log in with your account, letting you work completely inside the browser.
-
Once you are done working, simply exit out of the RDP browser tab and sign out of Privilege Cloud