Scope:
This article documents the steps for end users to follow in order to set up their Mac with Pulse Secure VPN in order to connect to the TSTC network remotely to access internal network resources.
Procedure:
- Click this link to open the TSTC SSL VPN download site. You will sign in with your Okta credentials. Follow the steps to set up MFA if you haven't already.
- Once you are on the Pulse Secure main page look to about the middle of the page to where it says “Pulse Secure” on the left-hand side. Click the “Start” button that is on the same line.

- You will now be on the "Download" page as this is your first time here we will click on the "Download" button.

-
Click the download button to download PulseSecureAppLauncher.dmg to your Downloads folder.
-
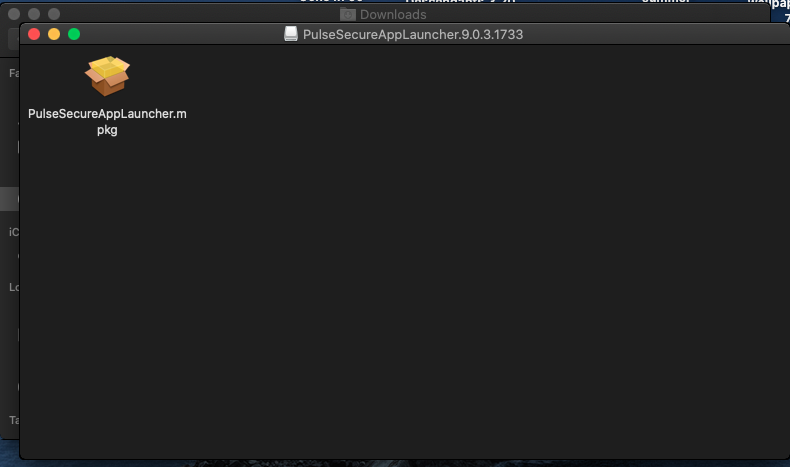
Navigate to your Downloads folder or expand it in the dock, and double-click on the dmg file to open it. 
-
When it opens, click on the PulseSecureAppLauncher.mpkg file to launch the installer.
-
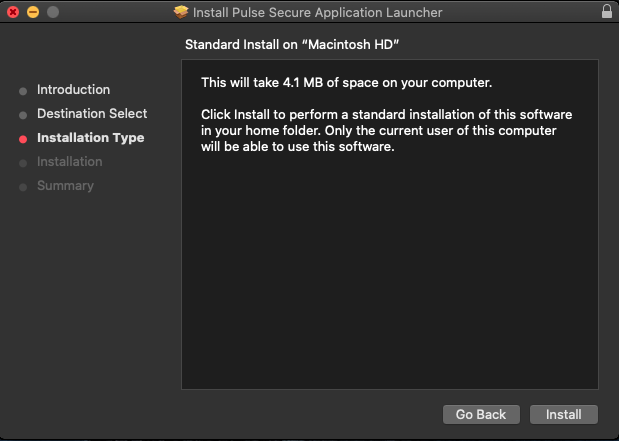
Press Continue on the first screen that appears. On the "Installation Type" screen, press Install. Enter your Mac account (not OneID) credentials, if prompted, to allow the program to install. If everything was successful, you'll get to a screen saying the installation was successful. Press Close to exit the installer.
-
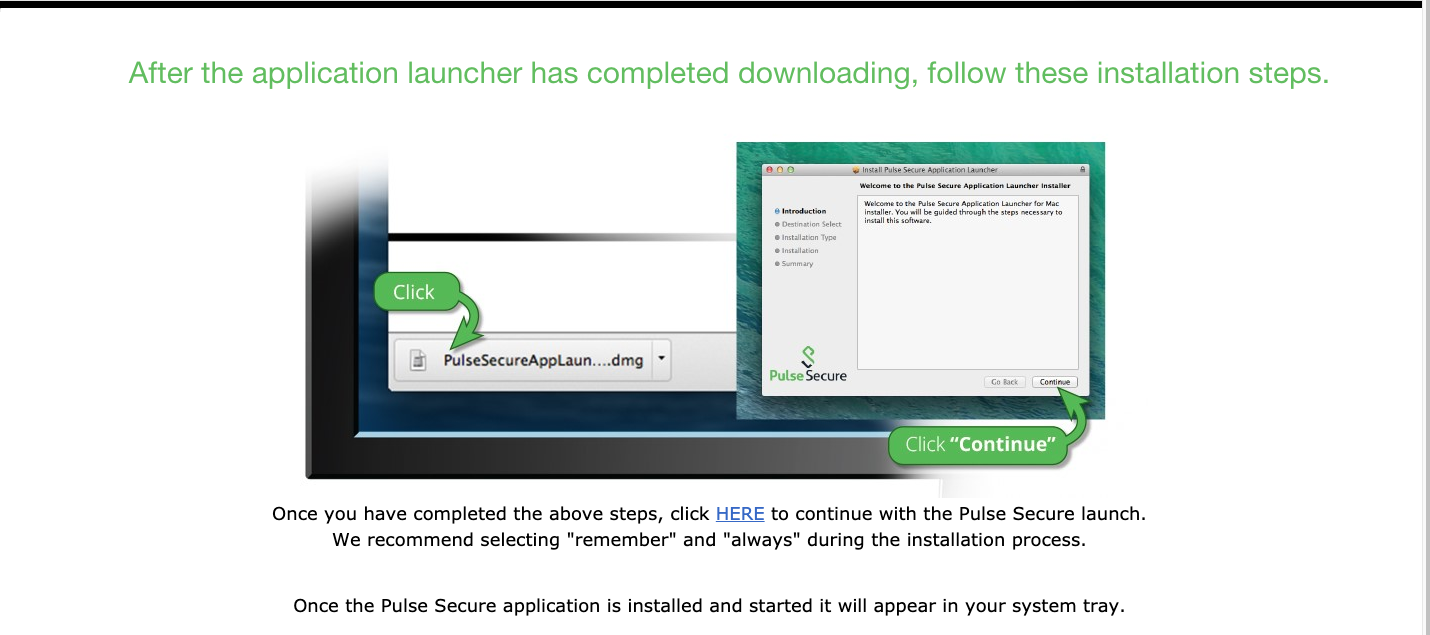
Go back to your browser and click the blue "HERE" text. Your browser will prompt you to open the PulseApplicationLauncher. This dialog may vary depending on your browser. Press "Open" to launch Pulse Secure.

-
If you receive a warning about opening the program for the first time, click "Open".
-
When the Pulse Secure Application Launcher window opens, press "Always" to allow the software to contact the server and download the required files and prevent any delay launching the application in the future.

-
You'll get a screen with the text “Installing application, please wait” and a progress bar while the application is downloaded and installed. Once the download finishes, enter your Mac user account credentials (not your OneID credentials) at the prompt to allow it to make changes. Be patient while this window is present. It may take some time to install.
-
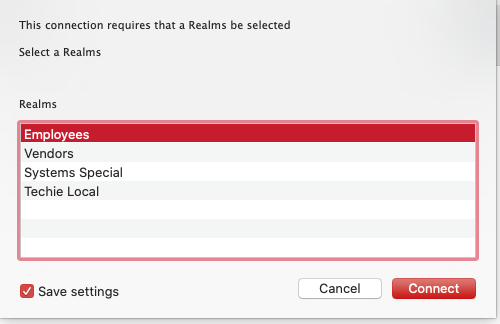
Once it finishes, you'll see the Pulse Secure icon appear in the notification area and it should connect automatically and display a green arrow next to its icon. Once this happens, the installation was successful and you are now connected to the VPN and should be able to access internal TSTC resources. If it doesn't connect automatically and you are prompted to select a realm, select the Employee realm if not already chosen, check the box next to Save Settings, and press the "Connect" button.
-
Enter your OneID username and password in the credentials box, again checking the box next to save settings. These will allow for future connections to the VPN to be automatically processed without you having to enter your credentials. It will then proceed to connect and a green check box will be displayed in the Pulse Secure window next to the connection name.
-
Once connected, you can close out of Pulse Secure
-
